Smart Blinds Project
Overview
The goal of this product was to motorize my existing blinds so they could be integrated into my home automation system. Since I only use the tilt function on my blinds, I didn't motorize the raising and lowering. I had been holding off on this project for a while since I have old one inch blinds installed in my bedroom and we plan on replacing all of the blinds in the house soon with new two inch blinds. Since I was getting tired of waiting, I figured that I can create something now and then adapt it later when I get two inch blinds. One important part of the project is that anything I do to the blinds needs to be reversible. When the time comes to move, the blinds need to be able to be reverted to their previous "dumb" state.
Why not just buy them?
Smart blinds are ridiculously expensive. Plain and simple. Normal "dumb" blinds already cost a fortune, never mind the smart ones. There are some cheap smart blinds, but many of them have drawbacks and don't look good. In the end, these blinds need to match the rest of the blinds in the house, so these options were off the table. Since I may not end up motorizing every set of blonds in the house, it's important that they all look the same, regardless of motorization. Another option is kits that allow you to motorize to existing blinds. Even kits to make existing blinds smart are $150 to $300 per blind and have their own issues. In the end, it just makes more sense to DIY this then to buy an off the shelf solution. For the price of motorizing three blinds with a $150 kit, I can buy a 3D printer, filament, all of the components for this project, and still have money left over.
Hardware
- NodeMCU
- 28BYJ Stepper motor and driver
- DC-DC Buck converter
- 12V Power supply
- Wire and perf board
I chose the hardware above based on price and ease of use. I already had the NodeMCU boards laying around from previous projects, and they are an easy and cheap way to add smart functionality to projects on the cheap. The 28BYJ steppers are basically the cheapest steppers on Amazon, and work for tilting the blinds just fine since they have a good amount of gearing built in.
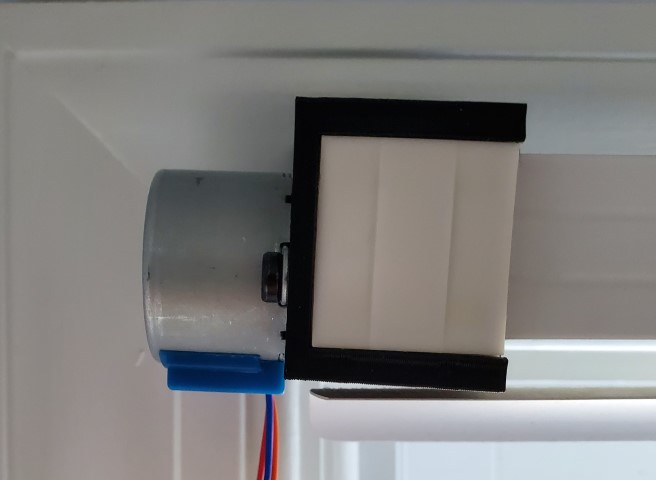
Mounting the motor
I was originally planning on modifying designs from TheHookup, but this proved to be impossible once I got the motors and realized that they would not fit inside of the one inch blinds. After that, I removed the existing bracket from the wall, grabbed a ruler and jumped into Fusion 360. I modeled a new bracket for the blinds, adding mounting for the motor on the left side. I them modeled the adapter that connects the shaft of the motor to the tilt rod inside of the blinds. Once modeling was complete, I printed the parts on my 3D printer and mounted the new bracket to the wall.
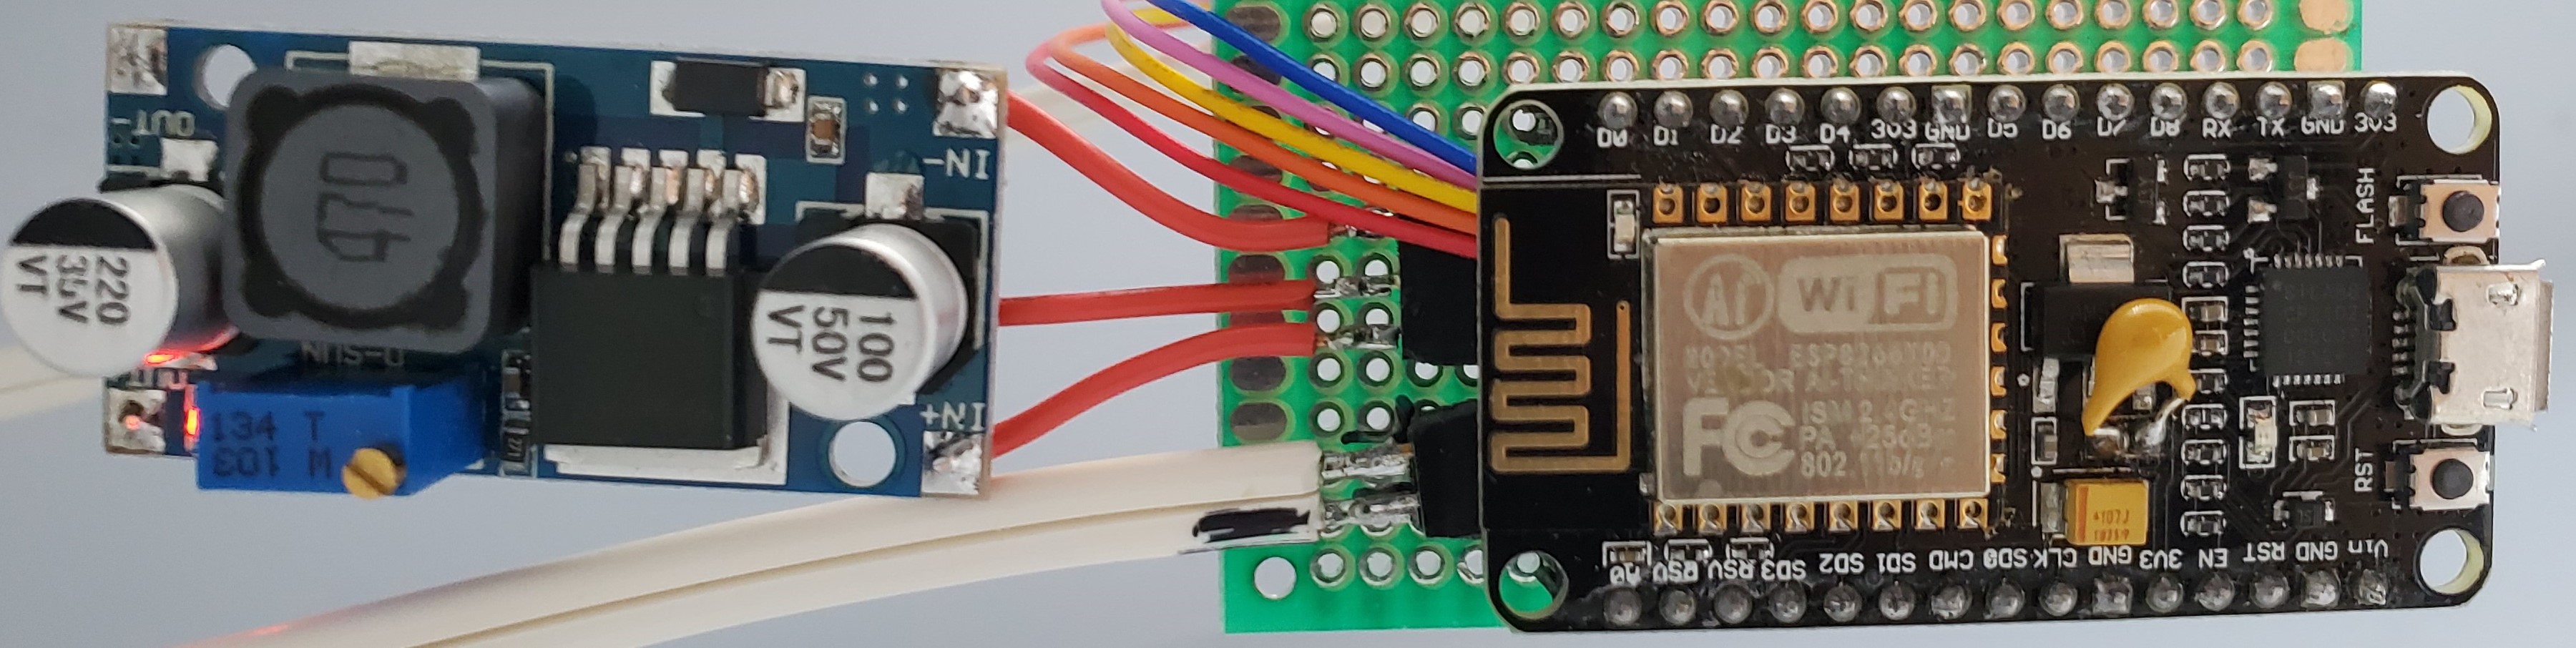
Electronics
Now for the fun part - the electronics. I had all of the parts that I needed, and a quick test with some jumper wires had everything up and running quickly. I realized that while 5V is enough to make the motor move without a load and on one set of my blinds, it was not powerful enough to move my other blinds. The solution to this was to drive the motors with 12V. Unlike TheHookup, I was able to use the included driver chip which is basically just a DIP package with 7 transistors in it at 12V. Instead of using the motors with the included bulky driver PCBs, I grabbed my soldering iron and removed all of the relevant components (namely the transistor IC and motor connector) and mounted everything on some fresh perfboard.
I went through a few revisions of this board. Unfortunately, the buck converter is pretty large and there isn't much I can do to make it smaller. The smaller buck converters sold online have bad voltage spikes at startup, whine, and are not reliable.
The final version should (hopefully) be able to fit inside of standard two inch blinds making the electronics completely invisible even though they have to be a bit of a weird form factor to do so.
To power everything up, I ran some 18 gauge 2 conductor wire up the side of the window frames to a 12V DC power supply that plugs into the wall.
Future Upgrades
These don't look great right now, but as I said earlier, I plan on replacing the blinds soon. Once I have two inch blinds installed, The motor will be able to go inside of the blinds as well as all of the electronics. This will make the blinds look no different from normal ones except for the wire running down to plug them in.